Soft House Plans Fast Guide to A Frame Home Plans Framing
Building an A-frame home starts with one critical foundation: proper framing. Whether you're a DIY builder or working with a contractor, understanding how A Frame home plans framing works will save time, reduce costly mistakes, and ensure your structure is safe, efficient, and long-lasting. This fast guide walks you through the essentials—from layout and materials to assembly and energy performance—so you can confidently bring your A-frame vision to life.
What Is A Frame Framing?
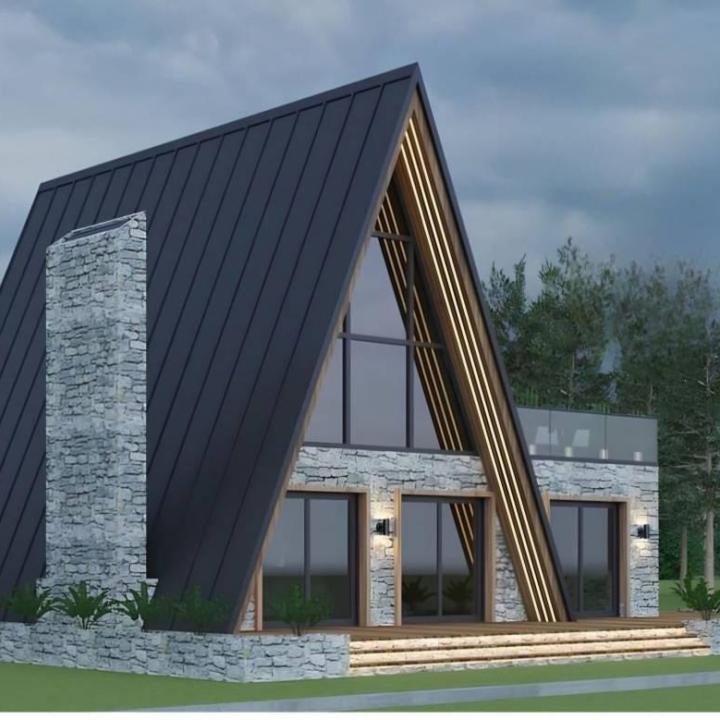
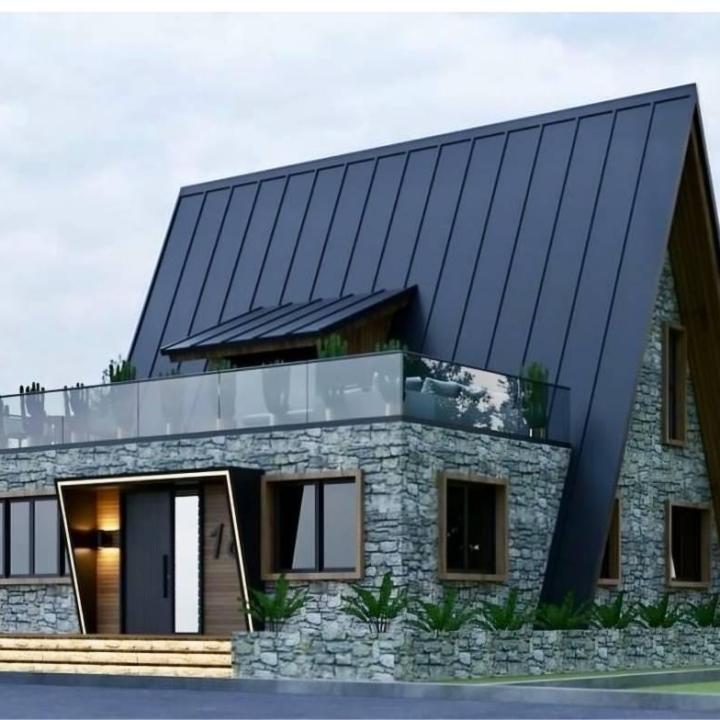
A-frame framing is defined by its triangular structural system, where two sloping rafters meet at the peak and extend down to the foundation. Unlike traditional homes that rely on vertical walls and roof trusses, an A-frame’s roof is the wall. This design provides:
- Natural structural strength
- Efficient snow and rain shedding
- Open interior layouts
- Unique architectural appeal
Soft House Plans focuses on framing layouts that balance structural simplicity with modern energy efficiency.
Step 1: Understanding Your A Frame Home Plans
Before cutting a single board, study your A Frame home plans carefully. Key framing elements include:
- Rafter dimensions and spacing
- Ridge beam or peak joint details
- Foundation connection points
- Floor joist layout
- Window and door framing cutouts
Look for notes on load paths, which show how weight transfers from the roof to the foundation. This is essential for safety and building code compliance.
Step 2: Choosing the Right Framing Materials
Common Framing Options
- Dimensional Lumber (2x6, 2x8, 2x10)
Affordable and easy to work with - Engineered Lumber (LVL or Glulam Beams)
Ideal for long spans and higher loads - Structural Panels (OSB or Plywood)
Used for sheathing and bracing
Soft House Plans Tip
If you're building in cold or high-wind regions, consider engineered beams for the main rafters. They improve stability and reduce long-term sagging.
Step 3: Foundation and Anchor Setup
Your framing is only as strong as your foundation. Typical A-frame foundations include:
- Concrete slab
- Crawl space
- Pier and beam
- Basement
Anchor Points Matter
Make sure your plans specify metal brackets, anchor bolts, or post bases that secure rafters directly to the foundation. This prevents uplift from wind and shifting from soil movement.
Step 4: Rafter Layout and Assembly
Basic Rafter Process
- Cut rafters according to your plan’s angle and length
- Assemble rafter pairs on the ground
- Attach ridge or peak joint
- Raise and secure to foundation anchors
- Add temporary bracing
Spacing Guidelines
Most A-frame designs use 16” or 24” on-center spacing. Tighter spacing improves strength and insulation performance.
Step 5: Sheathing and Structural Bracing
Once your rafters are in place:
- Install OSB or plywood sheathing
- Nail according to code spacing
- Add hurricane ties or metal straps at stress points
Sheathing locks the frame into a single, rigid structure—critical for wind and seismic zones.
Step 6: Framing for Doors and Windows
Cutting into an A-frame’s structure requires precision. Your A Frame home plans should include:
- Header sizes
- Cripple studs
- Reinforcement zones
Always reinforce openings to maintain the triangle’s structural integrity.
Step 7: Insulation and Energy Efficiency Framing
A-frame homes can lose heat through the roof if not properly insulated.
Best Practices
- Use continuous insulation along rafters
- Add ventilation channels for moisture control
- Seal joints with foam or tape barriers
Soft House Plans designs often integrate energy-efficient framing layouts that reduce thermal bridging and improve long-term performance.
Common Framing Mistakes to Avoid
- Skipping engineered load calculations
- Using undersized rafters
- Ignoring local building codes
- Poor foundation anchoring
- Inadequate bracing during assembly
Avoiding these mistakes can save thousands in repairs and inspections.
Fast Framing Checklist
✔ Review A Frame home plans in detail
✔ Confirm material specifications
✔ Verify foundation anchors
✔ Pre-cut rafters accurately
✔ Brace frame during assembly
✔ Reinforce all openings
✔ Plan insulation routes early
Prefab vs Custom Framing
Prefab Framing
- Faster installation
- Factory precision
- Limited customization
Custom Framing from Plans
- Full design control
- Better site adaptation
- Higher energy optimization
Soft House Plans supports both approaches, helping builders choose the best fit for their timeline and budget.
Soft House Plans Expert Tip
For faster builds, use pre-cut framing kits based on your A Frame home plans. This combines prefab speed with custom design flexibility.
FAQ
1. What spacing is best for A-frame rafters?
Most designs use 16” or 24” on-center, depending on load requirements.
2. Can I frame an A-frame myself?
Yes, with proper plans, tools, and safety precautions.
3. Do I need engineered beams?
For long spans or heavy snow loads, engineered beams are highly recommended.
4. How do I improve energy efficiency during framing?
Use continuous insulation, minimize gaps, and follow thermal break strategies.
5. Are prefab framing kits reliable?
Yes, especially when matched to custom A Frame home plans.
SEO Visual & Link Suggestions
Visual ALT Ideas
- “A Frame home plans framing layout diagram”
- “Rafter assembly for A-frame house structure”
- “Energy-efficient A-frame framing detail”
Internal Anchor Text
- custom A frame home plans
- energy-efficient framing systems
- small lot A-frame designs
- foundation setup for A-frames
- modern A-frame construction guide